
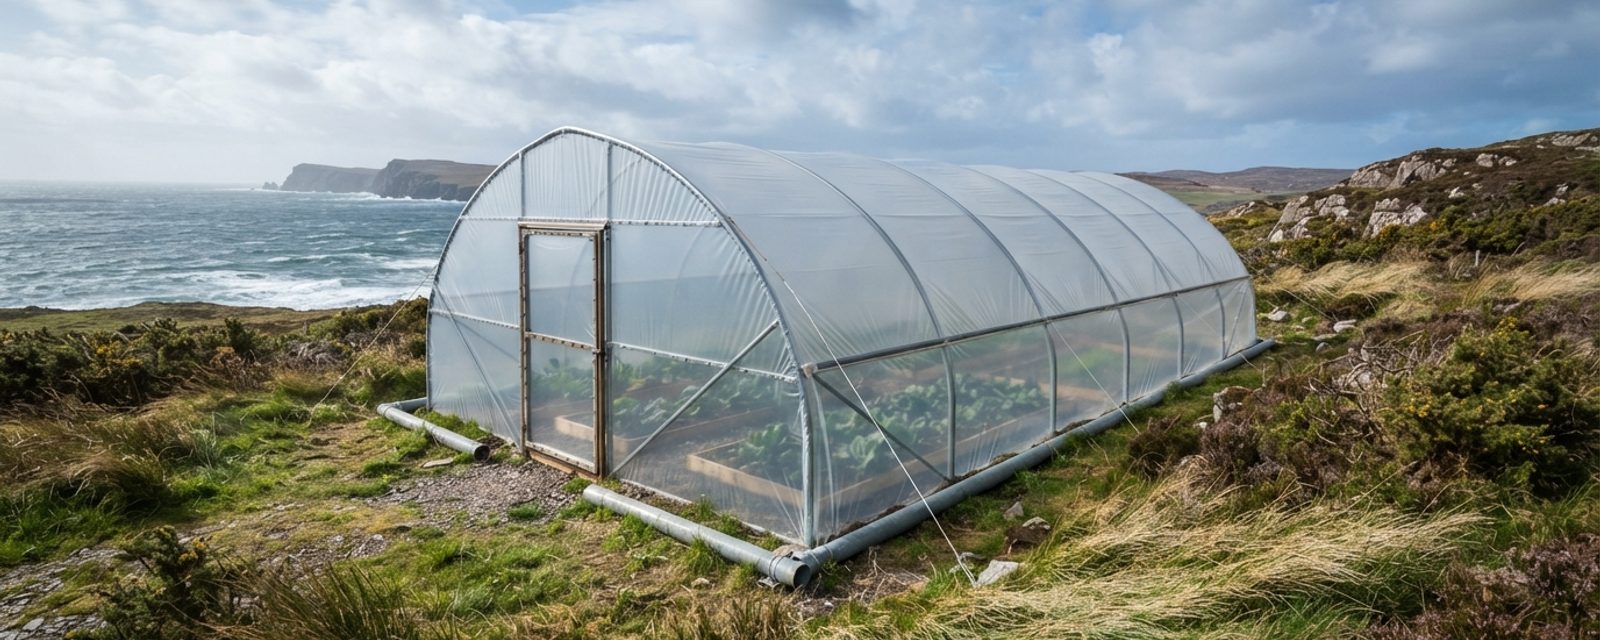
Wind damage to garden structures is rarely a simple case of "too strong a push." Two different mechanisms are at work, and they punish glasshouses and polytunnels in different ways.
A polytunnel is essentially an aerofoil pinned to the ground. As wind flows over its curved hoop, it accelerates over the top of the arc, and by Bernoulli's principle that faster-moving air exerts less pressure than the still air trapped inside the tunnel. The result is net uplift, the same force that keeps an aircraft wing airborne is trying to peel your polytunnel off its foundations, not just shove it sideways. That uplift is why polytunnels fail at the ground connection first: the anchoring has to resist the structure being lifted and rolled, not just dragged.
A greenhouse behaves differently because it's rigid and largely flat-panelled. Wind hitting a flat glazed wall creates direct pressure loading on the windward side and suction on the leeward side and roof; the whole frame has to transmit that load down through its corner joints and base into whatever it's fixed to. Because glass and rigid aluminium or steel framing can't flex to dump energy the way fabric can, the failure points are usually the weakest mechanical links, glazing clips, corner brackets, and the base-to-foundation fixing, rather than the panels themselves buckling.
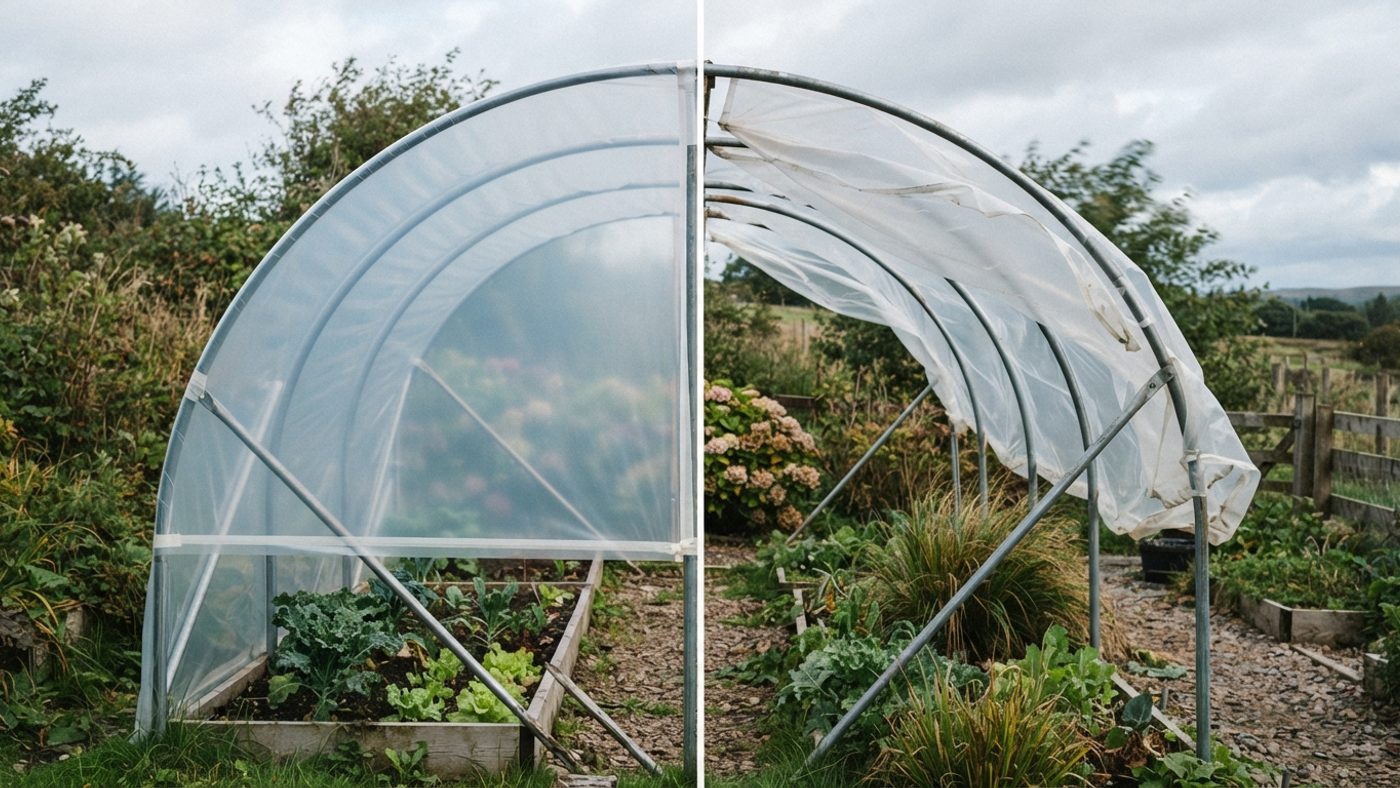
There's a third, self-reinforcing failure mode specific to polytunnels: a cover that has come loose or lost tension starts to flap. Once fabric is flapping, the repeated flexing works exactly like bending a paperclip back and forth, it fatigues the polythene at the point of maximum movement (typically along the base rail or at a loose clip), which tears a small hole, which then catches more wind and flaps harder, accelerating the tear. A tight, well-tensioned cover doesn't flap in the first place; a loose one can destroy itself within hours of a storm starting. Re-tensioning a cover before it's had the chance to work loose is the single most effective thing you can do to stop a polytunnel failing in wind.
What Scotland's wind data actually means for a structure
Two Met Office long-term-average records make the exposure gradient concrete. These are 1991-2020 annual mean wind speeds at 10 metres, not storm gusts, a distinction that matters because a mean and a gust tell you two different, equally useful things about a structure's risk.
| Station | Annual mean wind speed | Context |
|---|---|---|
| Aviemore (Cairngorms, inland) | 5.84 knots (~6.7mph) | Sheltered inland comparator |
| Stornoway Airport (Outer Hebrides) | 11.90 knots (~13.7mph) | Exposed island station |
| Lerwick (Shetland) | 14.73 knots (~17.0mph) | Most exposed UK station in this comparison |
The gap between Aviemore and Lerwick, roughly two and a half times the mean wind speed, is a genuine year-round exposure difference, and it's why the same polytunnel cover, fitted to the same standard, wears out noticeably faster on an exposed coastal or island site than in a sheltered inland garden. But it's worth being precise about what a mean actually tells you. An annual mean of 17mph at Lerwick describes the average of thousands of hours of calm-to-moderate wind; it says nothing directly about the peak gust in a named storm, which can be several times that figure for short bursts. What the mean is a reliable proxy for is cumulative fatigue load, the constant, lower-level flexing and micro-movement a structure experiences almost every day it stands, which is exactly the loading that degrades UV-stabilised polythene, works glazing clips loose, and fatigues joints over months and years, independent of any single storm event. In other words: the mean wind figure is the best predictor of how often you'll be re-tensioning and re-clipping; the gust figure (which the Met Office reports separately in storm warnings, not in these long-term averages) is the best predictor of whether a single event will take the structure down. A high-mean-wind site needs both a stronger anchoring spec from day one and a shorter maintenance interval, it isn't just occasionally windier.
The same exposure gradient works against trees, not just structures: the repeated gusting behind these figures is what wears weak branch unions and deadwood loose over years, so a garden on an exposed site is worth checking for storm-damaged or hanging branches more often, not just after a named storm. See removing large tree branches safely for how to tell a straightforward DIY cut from a job that needs a professional.
Anchoring and foundation methods compared
Anchoring is the part of wind-proofing that has to be right before the first storm, because retrofitting it on an already-erected structure is far harder than building it in. The right choice depends on soil type, whether the tunnel or greenhouse base needs to be removable, and how exposed the site is.
| Method | Relative cost | Best for | Trade-offs |
|---|---|---|---|
| Foundation (ground) tubes + anchor plates | Low-moderate | Standard polytunnel installs on reasonable soil | Needs correct depth and plate position to work; poor in very soft or very rocky ground |
| Concreted-in tubes/posts | Highest | High-exposure sites, permanent structures, greenhouses on a base | Strongest fixing available; effectively permanent, not removable, more labour and cost |
| Ground screw anchors | Moderate | Sites needing a strong but reversible fixing; retrofitting anchoring | Holding power depends heavily on soil type; manufacturers specify longer/larger anchors for soft or sandy soil |
| Base rail into a buried trench | Low | Polytunnel cover retention along the base edge | Secures the cover edge well but doesn't anchor the hoops against uplift on its own; normally used alongside foundation tubes |
| Strap-down/webbing kits over the top | Lowest | Emergency reinforcement ahead of a forecast storm, temporary structures | Fast to add, genuinely useful as a supplementary measure, but not a substitute for proper foundation anchoring |
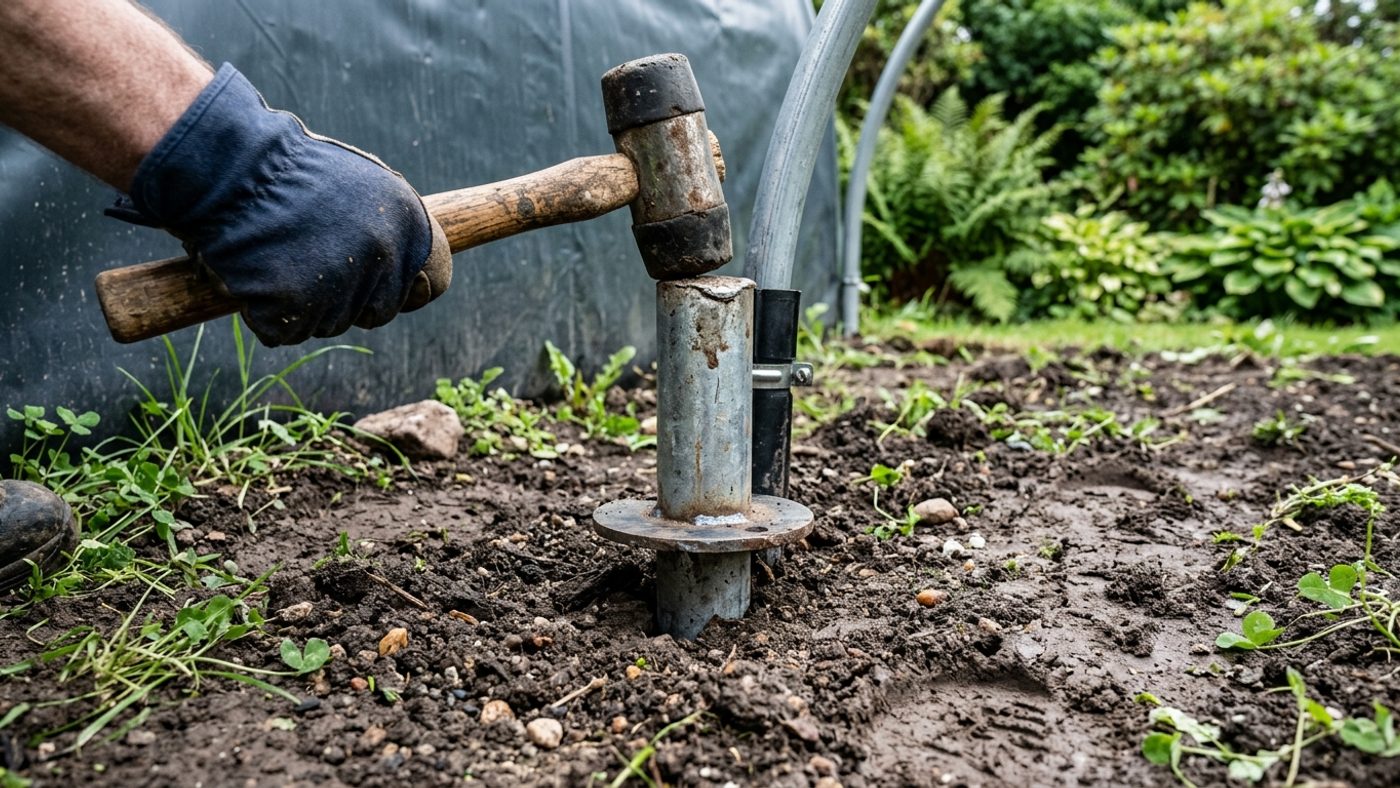
For polytunnels specifically, foundation tubes with anchor plates are the baseline method most UK manufacturers build their kits around, and manufacturer guidance is explicit that anchor plates are what stop the steel frame lifting even in the most severe weather conditions once the cover is fitted. On soft or sandy ground, dedicated soil-anchor manufacturers recommend stepping up to a longer or larger-diameter anchor rather than relying on the standard size, and anchors are typically needed at all four corners plus intermediate hoops on anything beyond a small tunnel. That matters on exactly the sites this article's wind data flags as most exposed: sandy machair on many Hebridean coastlines and thin, peaty ground across the Highlands and islands are both poor holding soil for a standard anchor, so a high-mean-wind site is disproportionately likely to also need the upgraded anchor size, not just more of the standard one. Concreting in is the strongest single upgrade available and is worth the extra labour on an exposed west-coast or island site, even though it sacrifices the ability to move or resize the structure later. A permanent, concreted structure over a certain size can also fall under Scottish Building Standards or need planning permission depending on your council and plot, which a driven-in, removable foundation tube generally doesn't; check with your local authority before committing to a permanent concrete footing on anything beyond a modest domestic tunnel or greenhouse.
Exact tube depth and hoop spacing vary by tunnel width and by manufacturer, so always work from your own kit's fitting instructions rather than a generic figure, but as a rule, foundation tubes go in at every hoop position with a substantial portion of their length below ground, since it's that buried length, not the tube's total length, that actually resists uplift.
If you've a cheaper or own-brand tunnel with no clear fitting guide supplied, a specialist polytunnel manufacturer's own published construction advice is worth reading even if you didn't buy from them, since the anchoring principle is the same regardless of brand, only the exact tube gauge and spacing differ.
Siting and orientation matter before you anchor anything
Anchoring compensates for a bad siting decision; it doesn't fix one. Where possible, site a polytunnel end-on into the prevailing wind, so the narrow gable end takes the brunt rather than the full length of a side wall, a tunnel sited broadside to the wind presents far more surface area to push and lift against, whatever anchoring it's fitted with. If you don't already know your plot's prevailing wind direction, the simplest check is your own observation over a season: which way do trees and hedges nearby lean or grow flagged (branches permanently pushed one way), which fence panels or gates take the worst hammering, and which side of existing structures shows weathering or paint wear. As a general pattern rather than a site-specific guarantee, west-coast Scottish gardens tend to face the prevailing south-westerly Atlantic wind, while east-coast gardens more often take the worst of north-easterlies off the North Sea, but that's a regional tendency, not a measured fact for your plot, so treat it only as a starting assumption to check against your own observation, not a rule to apply blind. On sites with no clearly dominant wind direction, or where a hedge, wall or shelter belt already breaks the worst of it from one side, use that shelter and orient accordingly. This is a decision to get right at installation, since re-siting an anchored, covered structure later is a far bigger job than choosing well the first time.
Polytunnel cover tensioning and replacement cycle
A polytunnel cover's job is to sit drum-tight across the frame so wind slides over it rather than catching and flexing it. Tension is lost gradually as the polythene stretches under UV and thermal cycling, so re-tensioning is routine maintenance, not a one-off fitting task; most growers check and take up slack at least once a year, and after any storm that's put visible movement into the cover.
Cover longevity is a direct function of UV-stabilisation grade and site exposure. UK manufacturer specifications typically quote polythene film in gauge and micron thickness together with a UV warranty period:
| Film grade | UV warranty | Realistic working life |
|---|---|---|
| 600-gauge / 150-micron (standard) | 4 years | Toward the lower end of its warranty on an exposed site |
| 720-gauge / 180-micron | 5 years | Moderately longer, more resilient to flexing |
| Heavier-duty film | Up to ~7 years | Up to around 10 years under good conditions |
Those warranty and lifespan figures are quoted for typical UK exposure. On a high-mean-wind Scottish coastal or island site, the constant micro-flexing that a loose or lightly stressed cover experiences (the same flap-and-fatigue mechanism as a hole tearing wider) works the film harder than the manufacturer's baseline test conditions assume, so treat the lower end of any quoted range, not the upper end, as the realistic expectation, and inspect the cover for thinning, crazing or pinholing at least once each spring rather than waiting for the nominal warranty period to run out. If a cover does tear mid-storm, proprietary polythene repair tape (sold by the same manufacturers as an emergency-repair product) is a legitimate stopgap once the wind has dropped enough to safely reach it, but treat any storm-torn cover as due for full replacement soon after, not as fixed for good, since a taped tear is rarely as strong as the surrounding film.
Glazing clips and frame maintenance
On a greenhouse, the wind path through a rigid frame ends at the glazing clips and the base fixing, so those are the parts to check, not the glass itself. Sprung wire or plastic glazing clips hold each pane against the astragal bars (the glazing bars that divide up the frame); over years of thermal expansion and contraction they lose spring tension, corrode, or crack, and a pane held by weakened clips is the first thing to lift and rattle, or come out entirely, in a gust.
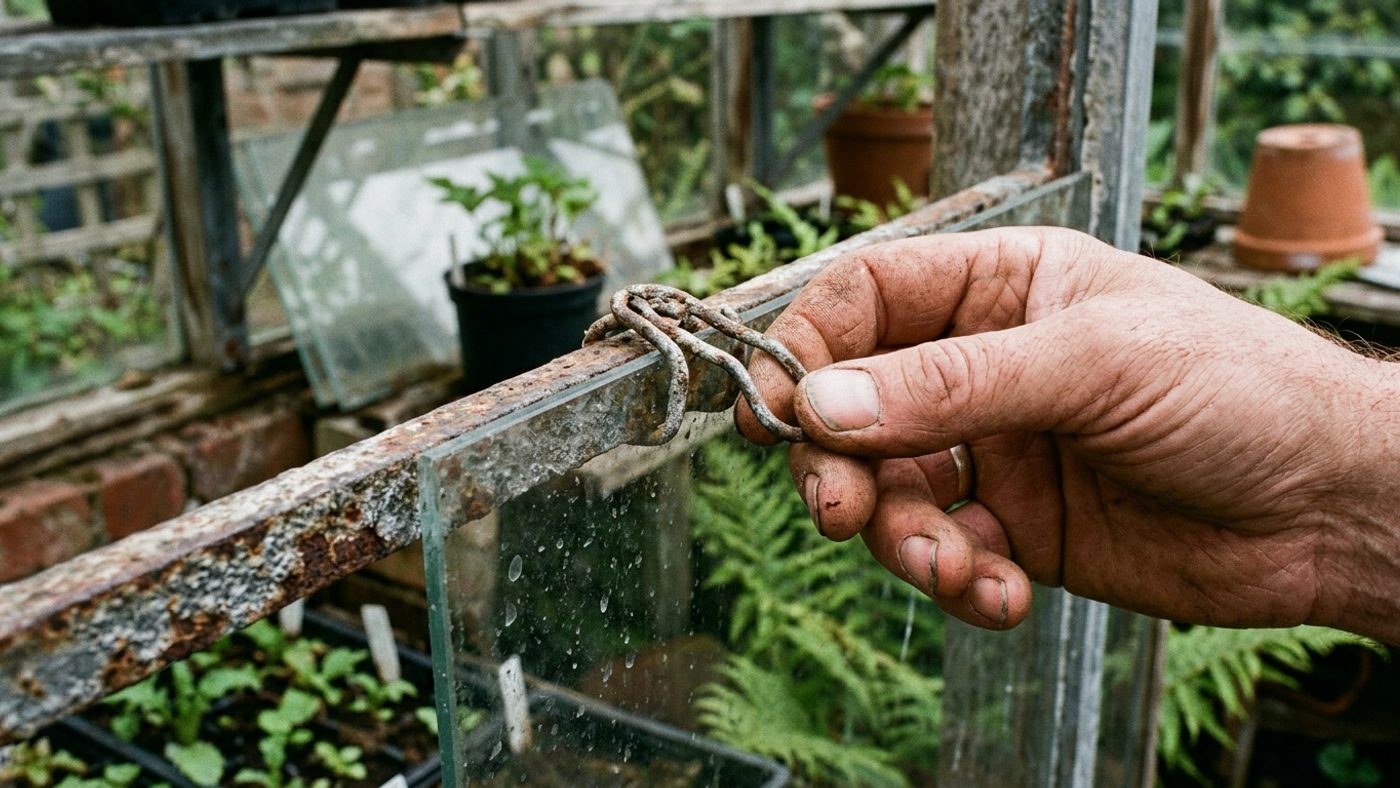
A once-a-year check, ideally in autumn ahead of the windier months, of every clip for corrosion, cracking or loss of spring tension, replacing any that have degraded, is cheap insurance against a much more expensive broken pane and the wind-driven damage that follows a gap opening in the glazing. On a west-coast or island site, check more often than once a year if you can: salt-laden air carried inland by exactly the same prevailing wind covered above accelerates corrosion on wire and metal clips well beyond what an inland Scottish garden sees, so a clip that would still be sound after a year further from the coast may already be pitted and weakened there. Check the base plate or sill boltsA plant switching early into flowering and seed production, usually triggered by stress, after which leaves, roots or bulbs turn bitter or unusable. Full page → at the same time; these are the equivalent of a polytunnel's foundation tubes, and a loose base fixing lets the entire frame rock, which fatigues every joint above it. Diagonal cross-bracing between frame uprights, where your greenhouse design allows for it, is a further, worthwhile upgrade on an exposed site: it stiffens the whole structure against racking (the frame distorting into a parallelogram under sideways load) rather than relying on the corner joints and clips alone to hold their shape.
Managing vents and doors in a gale
An open vent or door in high wind stops being a ventilation feature and becomes either a sail that helps lift the roof, or a pressure inlet that inflates the whole structure from the inside, both increase load rather than relieving it. Manual roof and side vents, and any doors, should be closed and where possible locked or pegged shut ahead of forecast strong wind; louvred vents in particular are prone to catching wind side-on and should be fully shut rather than left ajar. Automatic vent openers that respond to temperature can be slow to react and won't close for wind on their own, so on a forecast windy day it's worth manually overriding or disengaging an automatic opener rather than trusting it to shut in time. RHS's own ventilation guidance for greenhouses is built around managing airflow for temperature and disease control through the growing season, sizing roof vents at around 20% of floor area and opening doors and vents on warm days, and doesn't address gale conditions directly, so build a separate storm-day habit on top of it: check the forecast each evening through an exposed autumn or winter, and close everything down manually whenever strong wind is expected, rather than relying on your usual day-to-day ventilation routine to catch it.
Pre-storm checklist
Run through this in the 24-48 hours before a forecast severe wind warning, not after the wind has already picked up, and once the wind actually arrives, stay indoors: a structure that's already showing strain is not worth going out to re-secure while it's happening, and flying panels or straps are a real injury risk.
- Close and secure every vent, louvre and door; override or disengage automatic vent openers.
- Walk the cover or glazing looking for existing slack, flapping, or loose clips, and tension or replace before the storm, not during it.
- Check every anchor point, foundation tube and base fixing is still firm, ground can loosen around a fixing over a season of freeze-thaw and wet weather.
- Add supplementary strap-down webbing over the structure if the site is highly exposed or the forecast is unusually severe.
- Remove or secure anything nearby that could become flying debris and strike the structure: loose canes, netting, plant pots, tools, cold frame lids.
- Clear guttering and check nothing overhanging (branches, hedging) can fall onto the structure.
- Sign up for Met Office severe weather warnings for your area so you get advance notice rather than reacting after the wind has arrived. An amber warning is a reasonable trigger to work through this whole checklist; treat a red warning as a sign to also expect real damage risk regardless of preparation.
- If snow is forecast alongside wind, clear it from a polytunnel or greenhouse roof as it settles rather than letting it build up: a wind-loaded structure carrying wet snow on top is under a combined load neither figure alone accounts for, and the two together are a more demanding test of the frame and cover than either wind or snow load on its own.
Post-storm inspection routine
Once the wind has dropped, work through the structure methodically before assuming everything is fine:
- Check every glazing clip and pane for movement, cracking or loss, a pane that's shifted but not yet fallen is a next-storm failure waiting to happen.
- Inspect the polythene cover for new pinholes, tears (especially along the base rail and at clip points), and any loss of tension.
- Re-check every anchor point and foundation tube for movement, lifting, or a loosened plate, ground disturbance during a storm can work an anchor loose even if the structure itself stayed intact.
- Look at door and vent seals and hinges for wind-strain damage.
- Clear any debris that landed on or against the structure before it causes secondary damage.
- Log what you find: a cover or clip that needed attention this time is a strong signal to shorten the interval before you check it again.
Keeping a structure anchored and intact is a separate job from keeping it warm. For bubble wrap, heaters and thermal mass, see our guide to insulating a greenhouse for winter.
Common questions
How often should I replace my polytunnel cover?
UK manufacturer warranties typically run 4-5 years against UV degradation on standard-gauge film, with heavier film rated up to around 7 years and a realistic working life of up to 10 years under good conditions. On an exposed, high-mean-wind Scottish site, plan toward the lower end of that range and inspect for thinning or pinholing every spring rather than waiting for the cover to visibly fail.
Do I need to re-tension my polytunnel cover every year?
Yes — polythene stretches gradually under UV and thermal cycling, so at least an annual check and re-tensioning is standard practice, plus an extra check after any storm that's put visible movement or flapping into the cover.
Should I close greenhouse vents before a storm, even automatic ones?
Yes. Automatic vent openers respond to temperature, not wind, and can be too slow to close in time for a sudden gale, so manually override or disengage them and shut every vent and door ahead of a forecast severe wind warning.
Is concreting in polytunnel foundation tubes worth it on an exposed site?
On the most exposed sites, yes: it's the strongest fixing available. Weigh that against losing the option to move or resize the structure later, and check whether a permanent concrete footing needs local authority sign-off before you commit to it. Foundation tubes with anchor plates cover most sheltered-to-moderately-exposed gardens without that extra step.
At what wind speed does a greenhouse or polytunnel actually start to fail?
There's no single number that applies to every structure, since it depends on how well anchored and maintained it is, but as a rough guide: sustained wind from Force 8 (gale, roughly 39-46mph) upward is where a well-anchored, well-maintained structure starts to be genuinely tested, and Force 10 or above (storm, 55mph+) is where even a sound structure can suffer real damage. A poorly anchored or already-degraded structure can fail well below that. Met Office severe weather warnings, not the mean wind figures elsewhere in this article, are the right thing to watch for this: the annual means are a guide to wear and maintenance frequency, not a forecast of what any one storm will do.
Sources
7 sources, recorded with what each was used for
- Met Office: Location-specific long-term averages, Stornoway Airport (1991-2020): Annual mean wind speed figure (11.90 knots / ~13.7 mph)
- Met Office: Location-specific long-term averages, Lerwick (1991-2020): Annual mean wind speed figure (14.73 knots / ~17.0 mph)
- Met Office: Location-specific long-term averages, Aviemore (1991-2020): Inland sheltered comparator annual mean wind speed figure (5.84 knots / ~6.7 mph)
- RHS: Greenhouse - Ventilation and Shading Tips: Roof/side vent sizing and standard ventilation practice, used to contrast normal ventilation management with storm-specific vent closure
- Premier Polytunnels: Construction Advice and FAQs (manufacturer technical documentation): Foundation tube installation depth, slope adjustment, and anchor plate purpose
- Premier Polytunnels: Polythene Films collection (manufacturer technical documentation): Cover gauge/micron thickness, UV warranty periods and expected lifespan figures
- Groundbolt: Anchors for Polytunnels (manufacturer technical documentation): Ground anchor sizing by tube diameter, soil-type considerations, and clamp installation method