
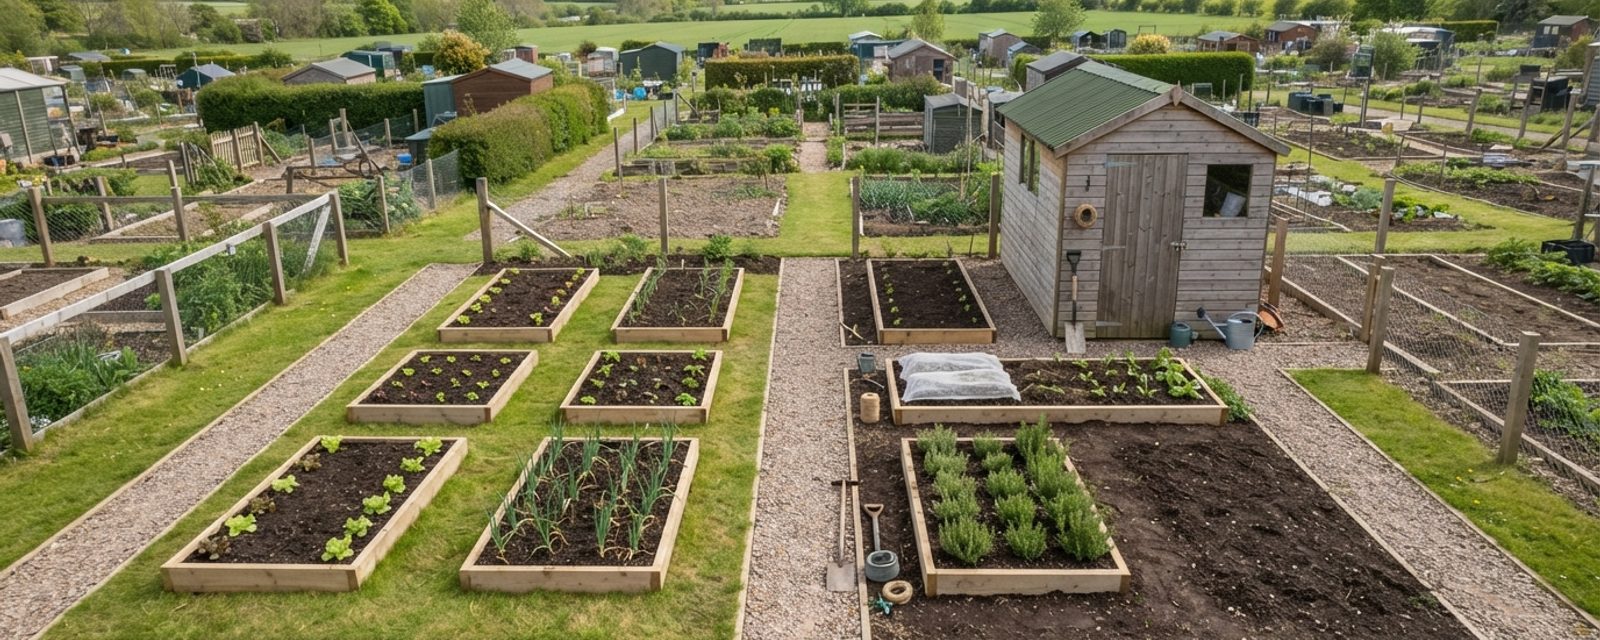
You've got the tenancy letter, the site plan with your plot number circled, and a key to the padlock. Now you're standing on a stretch of ground that's either rough grass, someone else's abandoned attempt, or bare soil, and you have no idea where anything goes. Where does the shed sit so it doesn't shade half your beds? How wide should a path actually be before a loaded wheelbarrow won't fit down it? Is the "traditional allotment" size you've read about anything like what you've actually been given? This is the framework for answering those questions before you cut the first turf.
Deciding what to grow where by plant family is a separate question, covered in the 3-year crop rotation guide, but your bed count and shape need to work with a rotationMoving each crop family to different ground each year, on a multi-year cycle, so pests and diseases that build up in soil don't get a repeat host. Full definition → cycle from the start, which is one more reason not to carve beds up arbitrarily.
Plot dimensions: what "traditional" actually means now
Allotment sizing carries a lot of inherited vocabulary, rods, poles, perches, which all describe the same historical unit, roughly 5.03m to a side when squared off. The National Allotment Society, the England and Wales body that set this benchmark rather than a Scottish one, states that most plots are around 10 rods, about 253 square metres, though it notes sizes vary. Its separate guidance on smaller plots gives a similar range: historically a full allotment has been approximately 10 poles, roughly 250 to 300 square metres.
That figure is a historical benchmark, not what you're likely to be standing on. The Society states that 76% of councils have reduced the size of standard plots to offer smaller options, and frames a half plot, around 5 poles, as suited to 2 to 4 hours of work a week, with a quarter plot, micro-plot, or raised bed suited to 1 to 2 hours a week.
Scottish councils confirm this in their own figures. Glasgow City Council's own allotment officer's report, cited in a 2024 Glasgow Allotments Forum submission to the Scottish Parliament, and Edinburgh's council allotments page, which confirms a similar range of plot sizes without publishing exact square-metre figures, both point the same way.
| Plot type | Approximate size | Source |
|---|---|---|
| Traditional full plot | ~250–300m² (10 poles/rods) | National Allotment Society |
| Glasgow full plot | 125–250m² | Glasgow City Council, 2024 |
| Glasgow half plot | 50–125m² | Glasgow City Council, 2024 |
| Glasgow micro plot / raised bed | Less than 50m² | Glasgow City Council, 2024 |
| Sighthill growing space (example) | ~84m² average | Glasgow Allotments Forum, 2024 |
| Rodney Street growing space (example) | ~53m² average | Glasgow Allotments Forum, 2024 |
| Greyfriars raised-bed plot (example) | 27m² | Glasgow Allotments Forum, 2024 |
The practical takeaway: don't plan around the 250m² figure unless your tenancy agreement actually says so. Measure what you've been given and design for that, not for the folk memory of what an allotment "should" be.
Paths and access: widths that actually work
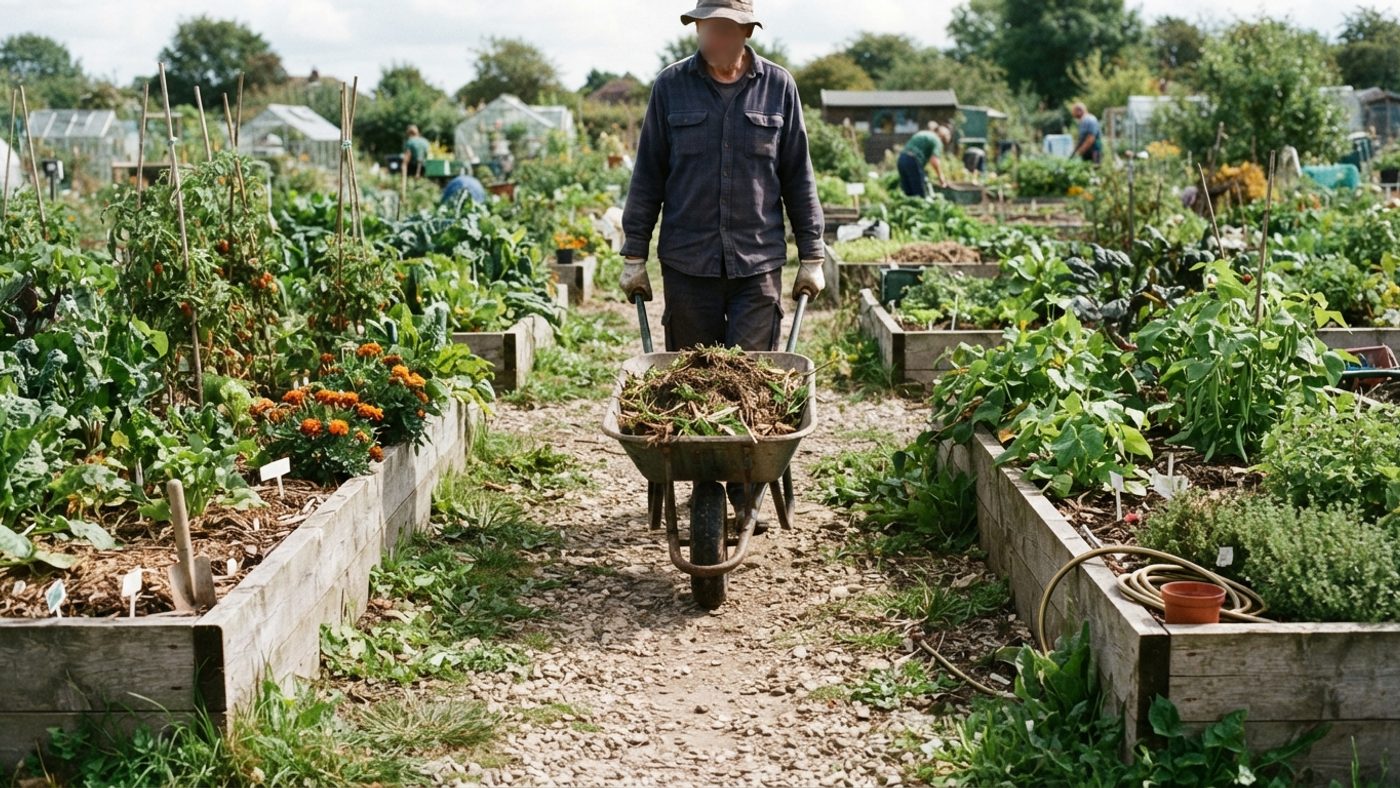
Paths are usually where new plot-holders get mean with space, because every path metre feels like a metre not growing anything. Aim for at least 45cm between beds to accommodate a wheelbarrow. Below that, you'll be forcingCovering plants to exclude light and speed early, tender growth in the dark, most associated with rhubarb and sea kale in late winter. Full definition → the wheelbarrow to straddle beds or turning every barrow run into a three-point manoeuvre. If you need wheelchair access, or simply want a plot that's easier to navigate with a loaded barrow or a visitor in tow, go to at least 1m wide.
A sensible approach is a mix: main thoroughfares at 1m or close to it, and secondary paths between individual beds at the 45cm minimum. Decide this before you fix bed positions, because retrofitting wider paths later means moving beds you've already built. If your site allows vehicles onto the plot itself, or even just up to its edge, for a manure or timber delivery, plan one path or a gap in the layout wide enough for that from the start rather than assuming you'll always be carrying everything in by barrow from the car park.
Width solves access; surface solves the mud. An unsurfaced path of the correct width still turns into a mud trench for much of a wet Scottish growing season, so it's worth deciding on a surface at the same time as you mark out widths rather than after the first winter shows you the problem. Bark chip, gravel over a weed-suppressing membraneA permeable fabric laid over soil to block weeds while still letting water and air through, often planted through with holes cut for each plant. Full definition →, or reclaimed slabs are the common choices; whichever you use, lay it before you plant the beds either side, since retrofitting a surfaced path between two established beds means working around growing crops.
Bed width: sized for your reach, not your enthusiasm
The most common layout mistake is beds too wide to work without standing on the soil, which compacts it and undoes half the benefit of bedding in the first place. Keep a bed under 1.5m wide if it's accessible from both sides, and you'll be able to reach the centre without having to stand on the soil. If a bed backs onto a fence, hedge, or plot boundary and is only reachable from one side, halve that figure to around 75cm so you can still reach the centre comfortably.
That same reach principle applies from a different angle too: a bed designed to be reached from all sides minimises treading. Wherever your plot shape allows it, a bed with a path on both long sides beats one with a path on one side only, because it doubles your access without doubling the space.
Orientation: working with sun and wind, not against them
Garden Organic's assessment guidance states plainly that a south-facing garden will be in sun for most of the day, while a north-facing garden is in shade. On an allotment you rarely get to choose your plot's aspect, but you can choose how you orient rows and beds within it.
Orienting a greenhouse or polytunnel, and by the same logic a bed or row, comes down to two options. An east-west orientation will slightly extend light levels during winter, worth weighing more heavily on a Scottish plot than a southern-English one, given how much shorter winter daylight already runs at this latitude. A north-south orientation suits summer crops such as tomatoes, with both sides receiving several hours' sun from east and west, though the end timbers will reduce the amount of sun reaching the house during the hottest midday period. The National Allotment Society's own plot-planning leaflet ties this directly to greenhouse siting on an allotment: if your plot faces mainly south or east, run the greenhouse ridge east to west; if it faces north or west, run the ridge north to south.
For beds themselves, the same principle applies at a smaller scale: run rows so your taller crops, sweetcorn, climbing beans, trained fruit, don't fall between the sun and your shorter crops for the bulk of the day. Winter daylight is the constraint worth designing around, but it cuts both ways: the same higher latitude that shortens Scottish winter days stretches out summer ones, particularly further north, so a layout decision made purely to protect thin winter light is only half the picture.
As covered in your first Scottish allotment, a lot of Scottish sites sit open to the weather, coastal, hillside, or otherwise unsheltered, in a way that a site tucked into a suburban street rarely is, so wind is worth planning for as a near-certainty rather than a possibility. Garden Organic notes that exposed sites can reduce the air temperature by a few degrees, slowing down growth, and creating a sheltered environment cuts both ways: cold northerly or easterly winds specifically can keep temperatures low in spring and slow the growth of seedlings and young plants.
If you're planning a windbreak, hedge, or shelter planting, a few concrete figures are worth designing around. Windbreaks must be semi-permeable, ideally filtering 50 to 60% of the wind to reduce its strength; a solid barrier creates turbulence on the leeward side rather than calming it. Windbreaks should face the prevailing winds, which RHS gives as coming from the south-west across the UK as a whole, check this against your own plot before building around it, since a hillside or coastal site's local topography can funnel wind from a different direction than the national pattern. A windbreak will significantly reduce wind on its leeward side to a distance of ten times its height.
That last figure is worth doing the maths on for your own plot. A 2m hedge or fence gives you meaningfully calmer air for roughly 20m downwind, on a small or micro plot, that can be the entire growing area, which is exactly why siting a windbreak on the south-west edge of an exposed plot is one of the higher-value early decisions you can make.
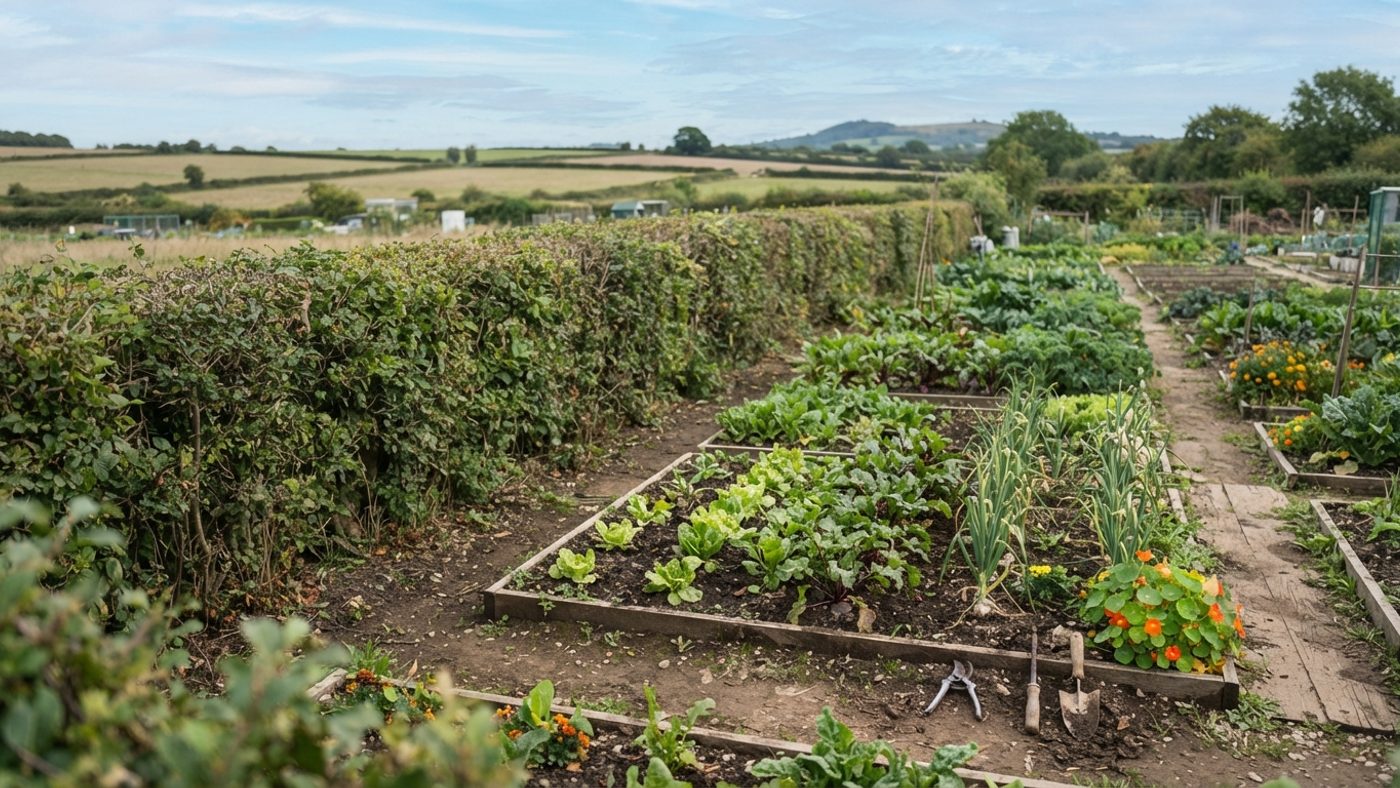
If your site is on a slope, Garden Organic adds a related point: steep slopes can create runoff, where you lose water, soil and nutrients, and arranging beds and rows along the contour lines rather than up and down the slope will reduce soil erosion. The same walk-the-plot observation applies to drainage generally: note where water pools or drains fastest before fixing bed positions, since a persistently boggy corner is a better spot for a path, the shed, or a raised bed than for a crop that dislikes wet feet.
Siting the permanent features: shed, water butt, compost, perennial beds
Apply the same sun, wind, and access logic above to where the plot's permanent features go.
A shed or fruit cage sited toward the most-shaded end of your plot doesn't fall across your annual beds' sun for most of the day, worth weighing carefully given how little daylight a Scottish plot has to spare over winter in the first place. If that same end also happens to be the side the prevailing wind hits first, it can do double duty as a partial windbreak for whatever's planted just behind it, worth checking both factors together rather than assuming shade and exposure sit on the same side of your particular plot. The allotment shed guide covers building, permission, and winterising it once you've fixed where it goes.
Position a water butt to catch roof runoff, from a shed or greenhouse roof, and close enough to your beds that filling a can is a short carry rather than a return trip across the plot. On sites with a shared standpipe rather than piped water to individual plots, a water butt near your own shed or greenhouse roof is often the only way to have water actually on your plot rather than a walk away from it.
Compost bins want to be reachable both from the beds that feed them, weeds, spent crops, and from a path, since you'll be moving finished compost out by barrow. A corner that touches both an outer path and your growing area avoids carrying material the length of the plot in either direction.
On sites near open ground, farmland, or woodland edge, check with your site or council whether deer or rabbits are a known problem before you finalise bed positions. A perimeter fence built into the layout from the start, rather than added around individual beds later, is generally the more workable long-term fix, and it changes where beds can safely sit relative to the boundary.
Anything long-lived needs to sit outside your rotation from the start. The National Allotment Society's plot-planning leaflet names an asparagus bed, which can last up to 20 years, and soft fruit bushes such as raspberries, gooseberries, and red, white, or blackcurrants, as crops that should be allocated to a part of the plot that doesn't form any part of the rotation system. Practically, that means deciding on their footprint before you divide the rest of the plot into rotation beds, not after. The same leaflet's site-type tips are worth noting alongside this: on a windy site, it suggests siting a windbreak or fruit bushes for shelter; on a wet site, raised beds.
Before any of this, the leaflet also recommends a checklist worth doing on-site with a notepad rather than from memory: check the sun path across the plot through the day, note shade cast by neighbouring structures or trees, note prevailing wind exposure, and identify any frost pocketsA low-lying spot where cold air drains and pools on still nights, making it noticeably more frost-prone than the surrounding area. Full definition →, low spots where cold air pools. If you find one, keep it clear of anything long-lived: a frost pocket is a poor spot for a fruit bush or asparagus crownThe base of a perennial plant where roots and shoots meet, often sold and planted as a ready-made dormant plant rather than grown from seed. Full definition → that will still be sitting there on the next hard spring frost, and a better one for a path or the shed.
Common questions
How big is a standard allotment plot in Scotland?
There isn’t one to look up; your own council’s allotment site sets the figure, and it’s worth getting the exact number from your tenancy agreement rather than assuming a plot elsewhere in Scotland matches yours. Full plots at different Scottish sites can vary by a factor of five or more, so measuring what you’ve actually been given matters more here than anywhere else in this guide.
How wide should my paths be?
At least 45cm (18in) between beds if you need to get a wheelbarrow through, per RHS’s raised-bed guidance. If you want wheelchair access, or just an easier plot to move around generally, go to at least 1m (3½ft). A mix, wider main paths, narrower secondary ones, is a reasonable compromise on a small plot.
How wide should my beds be?
Under 1.5m (5ft) if the bed is reachable from both sides, per RHS. If it only has access from one side, against a fence or boundary, for instance, go narrower, roughly half that, so you can still reach the centre without stepping onto the soil.
Which way should I orient my beds and greenhouse?
It depends on your plot’s aspect. RHS’s guidance for structures gives east-west orientation as slightly extending light in winter, and north-south as suited to summer crops with both sides catching sun through the day. The National Allotment Society ties this to plot aspect directly for greenhouses: south- or east-facing plots suit a ridge running east-west; north- or west-facing plots suit a ridge running north-south. Apply the same logic to bed rows and taller crops so they’re not shading shorter ones.
Do I need to plan my crop rotation before I lay out beds?
Not the detail of what goes where, but you do need to decide your bed count and shape with rotation in mind, since a workable rotation cycle needs a consistent number of comparable beds to move crop families through each year.
Sources
9 sources, recorded with what each was used for
- National Allotment Society: History & Future of Allotments: Traditional plot size (10 rods, ~253m²)
- National Allotment Society: Smaller Allotment Plots: Traditional size range (10 poles, 250–300m²), half/quarter/micro plot sizing and time commitment, the 76%-of-councils figure
- Glasgow Allotments Forum: Note on allotment provision in Glasgow (July 2024): Glasgow City Council's official plot-size bands, plus estimated figures for newer growing spaces
- Edinburgh Outdoors: Rent an Allotment: Confirms a range of plot sizes offered (full, half, quarter, raised bed) without exact square-metre figures
- RHS: How to Make a Raised Bed: Bed width for reach (1.5m/5ft), path widths (45cm wheelbarrow, 1m wheelchair)
- RHS: Greenhouse siting: Orientation to sun (east-west versus north-south), shelter from cold northerly/easterly winds
- RHS: Windbreaks and Shelterbelts: Windbreak permeability (50–60%), facing the prevailing south-west wind, ten-times-height shelter distance
- Garden Organic: Assess Your Space: Sun aspect, exposure and temperature, slope and contour planting, bed access from all sides
- National Allotment Society: Planning out and designing an allotment plot: Perennial/permanent beds sited outside rotation, the pre-layout site checklist, windy/wet-site tips, greenhouse ridge orientation by plot aspect