
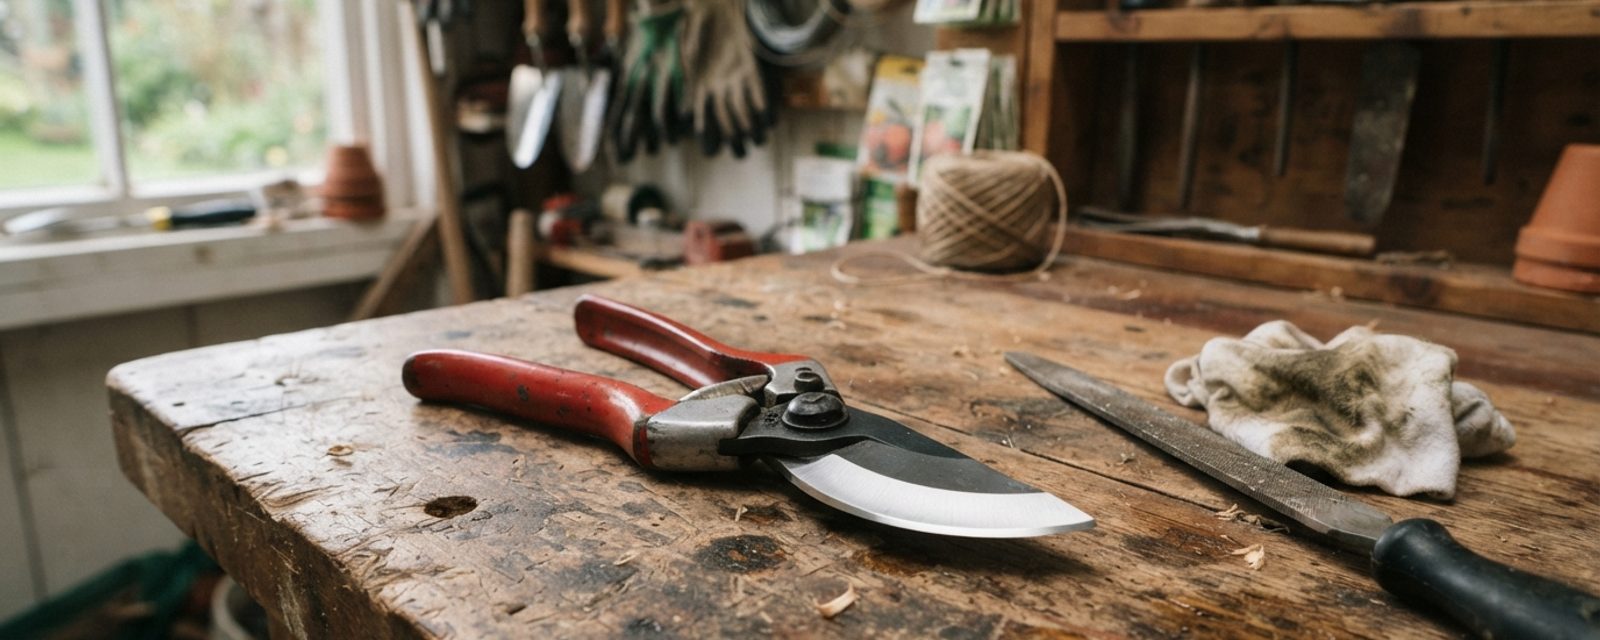
A cutting edge does its job by concentrating force into a narrow line of contact, the thinner and more consistent that line, the less pressure it takes to part a stem cleanly rather than crush it. Sharpening restores that geometry; it doesn't just make a blade "sharper" in some general sense. Get the angle or the face wrong, though, and you can do more damage than leaving a tool dull: grinding a new bevel onto the wrong side of a bypass secateur, for instance, changes how the two blades meet and can leave them unable to close cleanly at all, a tool that no longer cuts, rather than one that cuts poorly. Technique matters as much as the sharpening itself.
This covers hand tools: secateurs, loppers, hedge and hand shears, spades, and hoes, worked with a whetstone, diamond file, or metal file. For mower blades specifically, with their own bench-grinder and torque-setting technique, see our mower blade sharpening guide instead.
Signs a tool actually needs sharpening
You don't need a protractor or a workshop to tell. On secateurs and loppers, the clearest sign is the cut itself: a sharp blade slices through a stem in one clean pass, while a dull one crushes and tears the stem, leaving a ragged, bruised end rather than a clean flat one, and you'll often have to squeeze harder or work the blade back and forth to get through. On shears, the same crushing shows up as torn, browning leaf tips a day or two after cutting a hedge rather than a clean green edge. On spades and hoes, a dull edge slides over the soil surface instead of biting in, and you'll feel yourself leaning on it more than usual. Any of these is worth checking the edge for before reaching for a stone or file.
Why the bevel matters
Two things about a tool's bevel, the angled face ground into the blade, determine how well it cuts and how long the edge lasts.
The first is the angle. A shallow, acute bevel produces a thinner, sharper edge that slices with less effort, but that thin edge is also more fragile and more easily rolled or chipped, especially on tools that meet resistance, a spade hitting stone, loppers cutting through knotty wood. A steeper bevel is more durable but needs more force to cut. Garden tools sit on a spectrum between these two needs.
The second is which face carries the bevel at all, the part that's easy to get wrong, covered next.
Anvil vs bypass: why it changes the sharpening method
Secateurs and loppers come in two cutting designs, and they are not sharpened the same way.
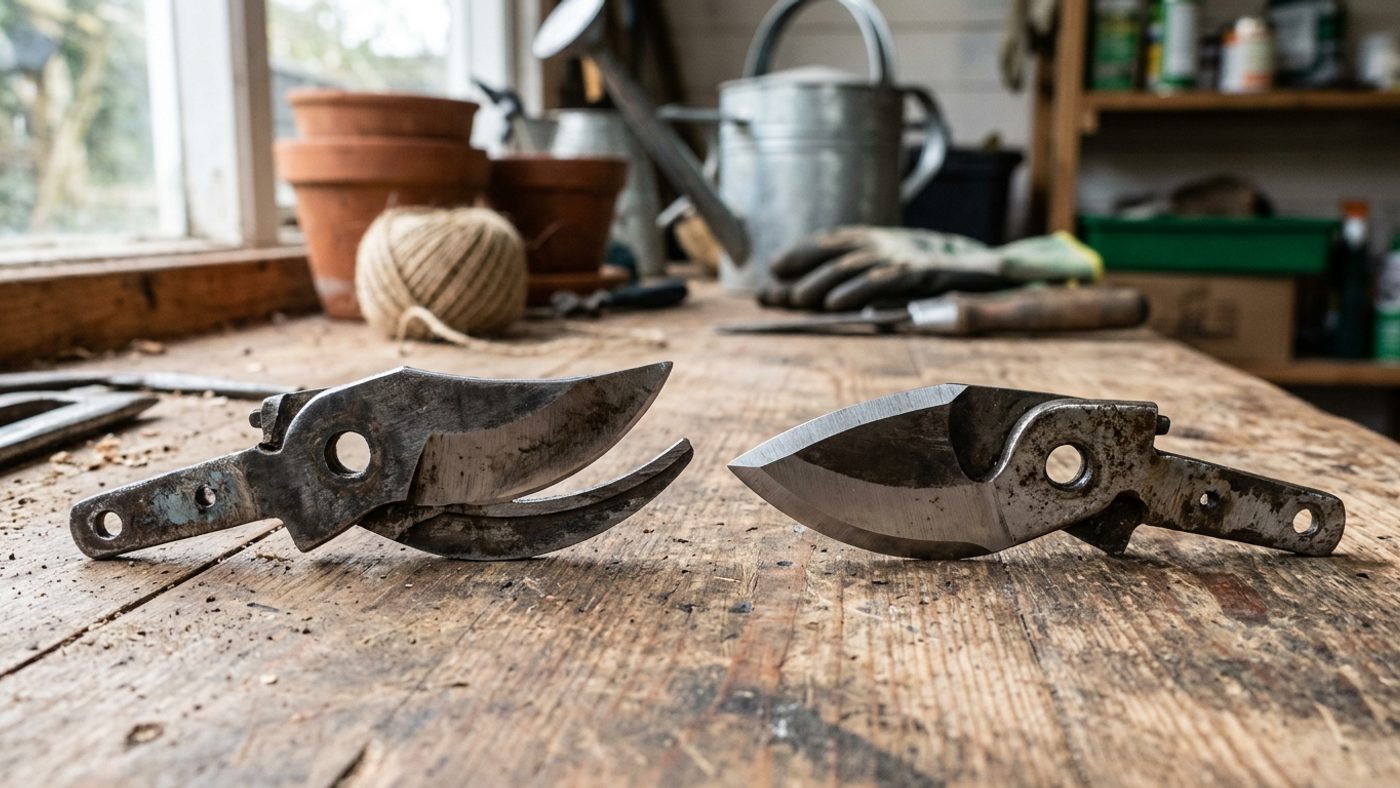
Bypass tools (the scissor-action type, blades passing each other) have one sharp blade and one blunt "anvil" blade that the sharp one glides past. Only the sharp blade carries a bevel, and it's bevelled on one face only, the outer face. Sharpening the inner, flat face changes the geometry of how the two blades meet and can stop them closing properly.
Anvil tools (the sharp blade closes straight down onto a flat metal bar) are bevelled symmetrically on both sides of the cutting blade, like a knife. Trying to sharpen these the bypass way, one face only, throws the edge off-centre against the anvil bar and produces an uneven cut.
Before sharpening any secateur or lopper, check which type it is. It determines whether you touch one face of the blade or both.
What you need
- Whetstone: a coarse-and-fine (or multi-grit) sharpening stone, oil- or water-lubricated depending on type, for garden knives and fine edges. A coarse grit (roughly 200-400) removes nicks and reshapes a neglected edge; a fine grit (roughly 800-1000+) polishes and refines it, most off-the-shelf combination stones give you both sides in one block.
- Diamond-coated file or pocket tool: for secateur and lopper blades, cuts faster than a traditional stone and works well on the small, precise bevels these tools need.
- Metal file: a flat file with a single row of teeth (sold as a "single-cut" file, as opposed to a coarser cross-hatched "double-cut" one) for spades and hoes, which need material removed rather than polished.
- General-purpose oil (e.g. WD-40) and a rag, for cleaning blades before sharpening and lubricating pivots and joints afterwards.
- A vice or clamp to hold the blade steady.
- Gloves and eye protection.
- Optional: a honing guide or angle jig, if keeping a consistent angle by eye is difficult, not essential, but it removes the guesswork on a first attempt.
Stick to hand tools for sharpening rather than a powered bench grinder: a grinder removes material fast and can overheat the steel enough to soften it and ruin the edge's ability to hold, which is much harder to do by hand with a file or stone.
Clean the blade before you start, whether or not you go on to sharpen it. Dried sap and soil hide the actual state of the edge and will clog a stone or file; a rag dampened with methylated or white spirit lifts sticky sap residue that soap and water won't shift. It's also worth doing for its own sake: a clean blade helps stop plant disease spreading between plants, per RHS guidance, which matters if the same secateurs move between roses, fruit bushes, or anything already showing signs of disease.
Most secateurs, loppers and shears are carbon steel, which takes and holds a finer edge than stainless but corrodes faster if left wet, another reason to dry and lightly oil the blade every time, not just after sharpening. If a blade is beyond sharpening (badly pitted, or a chipped tip a file can't restore), it's worth checking whether the manufacturer sells a replacement blade for that specific model before buying a whole new tool, Felco, for instance, sells individual replacement blades for most of its secateur range, and several other brands follow the same pattern.
Sharpening angle and method by tool type
The figures below are a practical starting range for each tool, not a fixed rule, keeping whatever angle is already on the blade rather than picking a new one is the more reliable approach, so treat this table as a sanity check on an unfamiliar or badly worn tool rather than a number to chase exactly.
| Tool | Bevel type | Approx. angle | Best sharpening tool | Typical frequency |
|---|---|---|---|---|
| Bypass secateurs | Single face (outer blade only) | ~20-25° | Diamond file or pocket diamond tool | Touch-up several times a season; full sharpen 1-2x/year |
| Anvil secateurs | Double face (symmetric) | ~20-25° per side | Diamond file or fine whetstone | Touch-up several times a season; full sharpen 1-2x/year |
| Loppers | Single face, bypass type most common | ~20-25° | Diamond file | 1-2x/year, or when cuts start to crush rather than slice |
| Hedge/hand shears | Single face per blade (scissor action) | ~25-30° | Fine whetstone or diamond file (if blades separate) | 1-2x/year |
| Spade | Single bevel on the digging edge | ~40-50° (blunter, for durability against stone and soil) | Metal file | 1-2x/year, or when the edge visibly rounds off |
| Hoe | Single bevel | ~35-45° | Metal file | 1-2x/year |
Secateurs and loppers sit at the sharper, more acute end because they're cutting live plant material and need to slice rather than crush. Spades and hoes sit at the blunter end because a thin edge would roll or chip the first time it meets a stone in the soil; cultivation-tool filing is about removing damage and restoring a working edge rather than polishing to a fine finish.
Secateurs and loppers: step by step
- Confirm anvil or bypass (see above), and disassemble if the tool allows it.
- Clean the blade with oil and a rag to remove sap, dirt and any surface rust.
- Working with a diamond file or stone, sharpen only the bevelled face(s) identified above, the outer face on bypass tools, both faces on anvil tools. Match the existing angle rather than picking a new one.
- Draw the file or stone across the bevel in one direction at a time, away from the edge, rather than scrubbing back and forth. A useful trick: mark the bevel with a permanent pen first, so you can see exactly where material is being removed as the ink disappears, the ink vanishes evenly across the bevel when you're holding a consistent angle, and unevenly if you're not, a more reliable check than trying to judge the angle by eye alone.
- Check the flat (unbevelled) face for a burr, a thin lip of metal pushed over the edge during sharpening. Lay the blade flat and make one or two light passes to remove it; don't bevel this face.
- Reassemble, oiling the pivot and spring.
- Test on paper: a properly sharpened blade should cut cleanly through a sheet with minimal effort, not tear or snag.
Hedge shears and hand shears: a DIY method
If your shears come apart (most boltedA plant switching early into flowering and seed production, usually triggered by stress, after which leaves, roots or bulbs turn bitter or unusable. Full page →, non-riveted models will), you can sharpen them yourself:
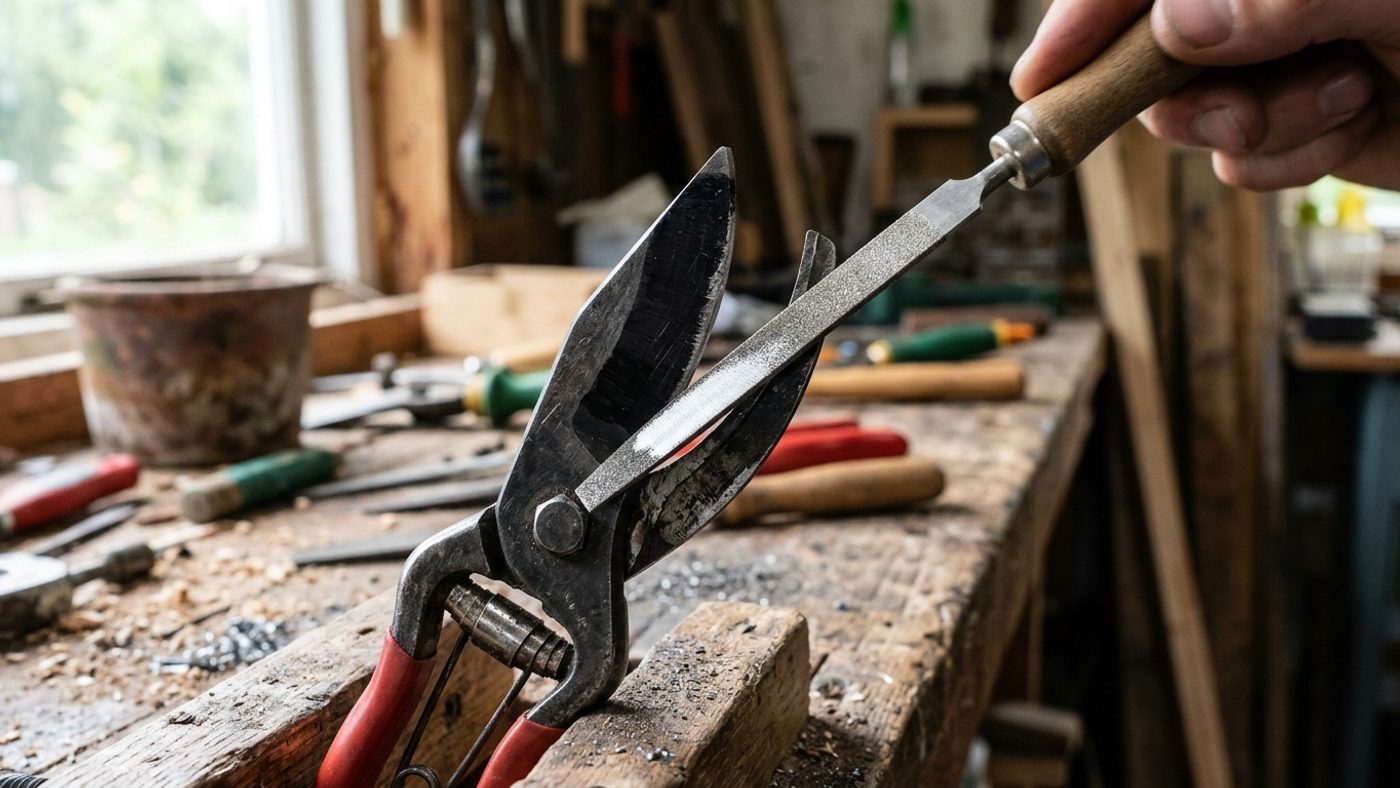
- Remove the central bolt and separate the two blades.
- Clamp one blade in a vice, bevelled face up.
- Using a fine whetstone or diamond file, work along the existing bevel from the base of the blade to the tip, in one direction, keeping the angle consistent, treat each pass the same way you would a single bypass secateur blade, since the cutting action is the same scissor motion.
- Remove any burr from the flat back face with one or two light strokes.
- Repeat on the second blade.
- Reassemble with a drop of oil on the pivot bolt, tightened enough to hold the blades together firmly without binding, they should open and close smoothly under their own spring tension.
- Test on a stem or a strip of card before using on the hedge.
If the blades are riveted rather than bolted and don't separate, or if the edge is badly nicked or the blades no longer meet flush, professional sharpening or replacement is the more practical option at that point.
Spades and hoes
Cultivation tools take a different approach: the goal is restoring a working edge, not polishing to a fine finish, and this is generally a roughly annual job rather than ongoing maintenance.
- Clean off soil and any rust.
- Clamp the tool or brace it securely.
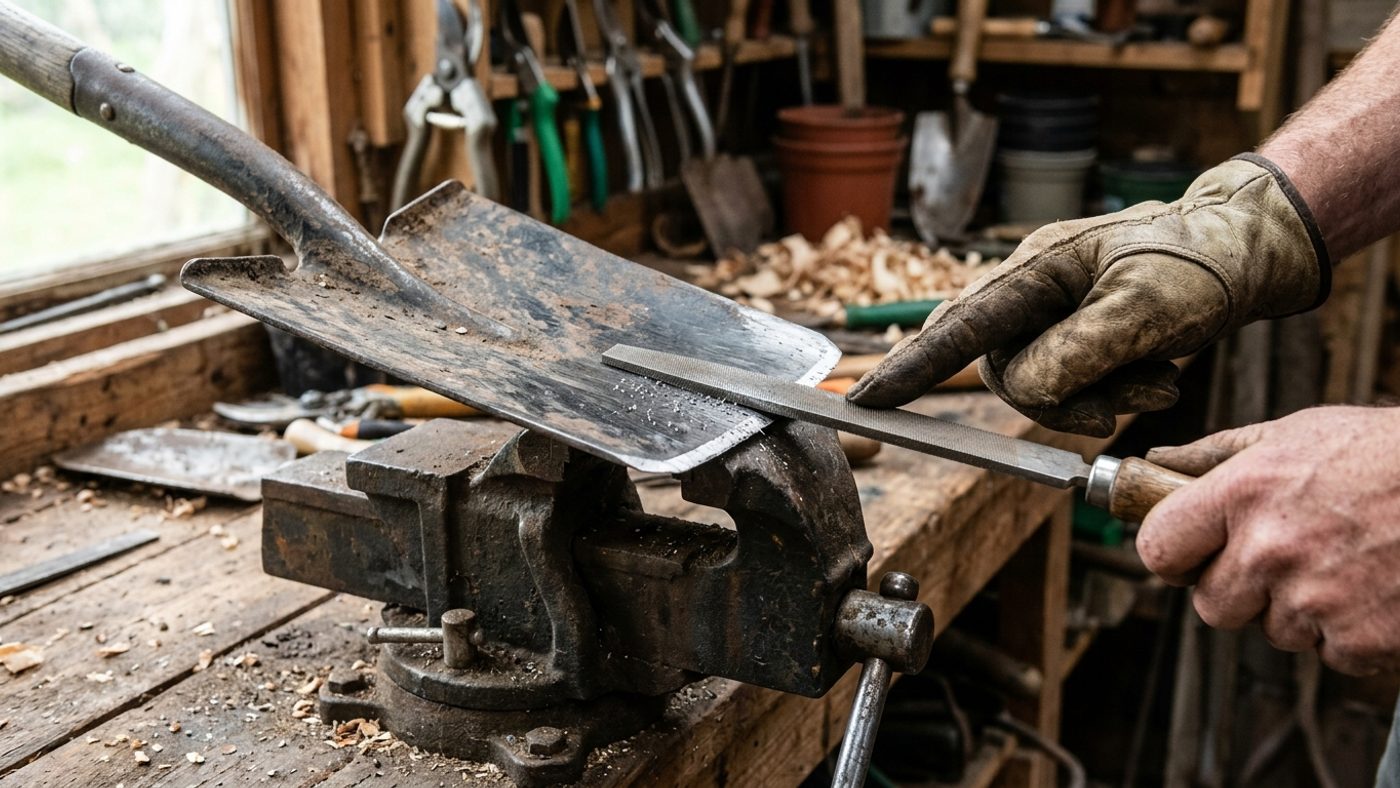
- Using a flat metal file, work along the existing bevel at a consistent angle, pushing away from the edge in one direction per stroke (dragging back on the return risks dulling the edge you just created).
- Continue until the edge feels even along its length and any nicks are filed out.
- Check the flat back face for a burr, the same as with secateurs, and remove it with a couple of light passes rather than leaving it on.
- Test the edge by pushing it into a scrap of turf or firm soil: it should bite in cleanly rather than skate across the surface. Wipe down and apply a light coat of oil before storage.
Safety
- Wear gloves when sharpening and when handling oil or a wire brush, and eye protection when filing.
- Always cut and file away from your body, and keep fingers clear of the edge you're working on.
- Clamp the tool rather than holding it free-hand where possible, a slipped file or stone on an unsecured blade is the most common way people cut themselves during sharpening, not the finished edge itself.
- Keep the work area clear of anyone standing nearby, particularly with loppers and shears where you're applying force across a spring-loaded joint.
A Scotland-specific note on storage
Bevel geometry and sharpening technique don't change with climate, but rust risk between sharpens does.
Drying a blade after cleaning is what actually prevents rust, moisture left on metal is the direct cause, and tools should be kept in a clean, dry place between uses, per RHS guidance. Much of Scotland receives substantially more rainfall than the UK average, which means more ambient dampness for a stored blade to sit in between uses:
| Area | Typical annual rainfall |
|---|---|
| Drier eastern England | ~500-700 mm |
| Dunbartonshire | ~2,067 mm |
| Argyllshire | ~2,275 mm |
| Scottish Highlands (wettest sites) | 4,000 mm+ |
Since most secateur, lopper and shear blades are carbon steel (see above), which corrodes faster than stainless when left wet, that extra ambient dampness during storage is exactly the condition it's most vulnerable to. Particularly over an unheated shed or lean-to through a Scottish winter, treat the drying-and-oiling step as routine after every cleaning or sharpening session, not an optional finish. A garden near the coast has a second reason to be strict about it: salt-laden air speeds up metal corrosion generally, on top of whatever rain does.
Scotland's ground is also commonly stony in many areas, and grit or small stones dragged across a spade or hoe edge during digging can plausibly blunt and nick it faster than working a stone-free bed would, one reason cultivation tools are filed to a blunter, more durable angle than pruning tools rather than a fine one.
Common questions
How often should I sharpen my secateurs?
Touch up the edge with a diamond file every few weeks during heavy use, and do a full sharpen once or twice a year, or whenever cuts start to crush stems instead of slicing them cleanly.
Can I sharpen anvil and bypass secateurs the same way?
No, check which type you have first. If you're not sure, open the blades and look: if the sharp blade closes onto a flat metal bar, it's an anvil; if two blades scissor past each other, it's bypass. Sharpening the wrong face is a common mistake that makes an otherwise good tool cut worse than before.
What angle should I sharpen my spade at?
There's no single official figure, but a blunter angle than secateurs, roughly 40-50°, is appropriate, since a thinner edge would chip or roll the first time it meets stone or root in the soil.
Do I need different tools for secateurs versus spades?
Broadly yes. Diamond files and fine whetstones suit the small, precise bevels on secateurs, loppers and shears; a flat metal file is better suited to removing the larger amount of material needed on a spade or hoe edge.
My hedge shears won't come apart — what do I do?
If the blades are riveted rather than bolted, or badly nicked, professional sharpening is the practical option rather than attempting a DIY fix on a tool that can't be separated safely.
Sources
3 sources, recorded with what each was used for
- RHS: Sharpening Hand Tools: Backbone source for sharpening tool types, method for secateurs/knives, cultivation tool filing, and sharpening frequency guidance
- RHS: Cleaning Hand Tools: Rust-prevention, drying, and dry-storage advice underpinning the Scotland storage note
- Met Office: How much does it rain in the UK?: Regional rainfall figures (Argyllshire, Dunbartonshire, Scottish Highlands) supporting the storage/rust paragraph