
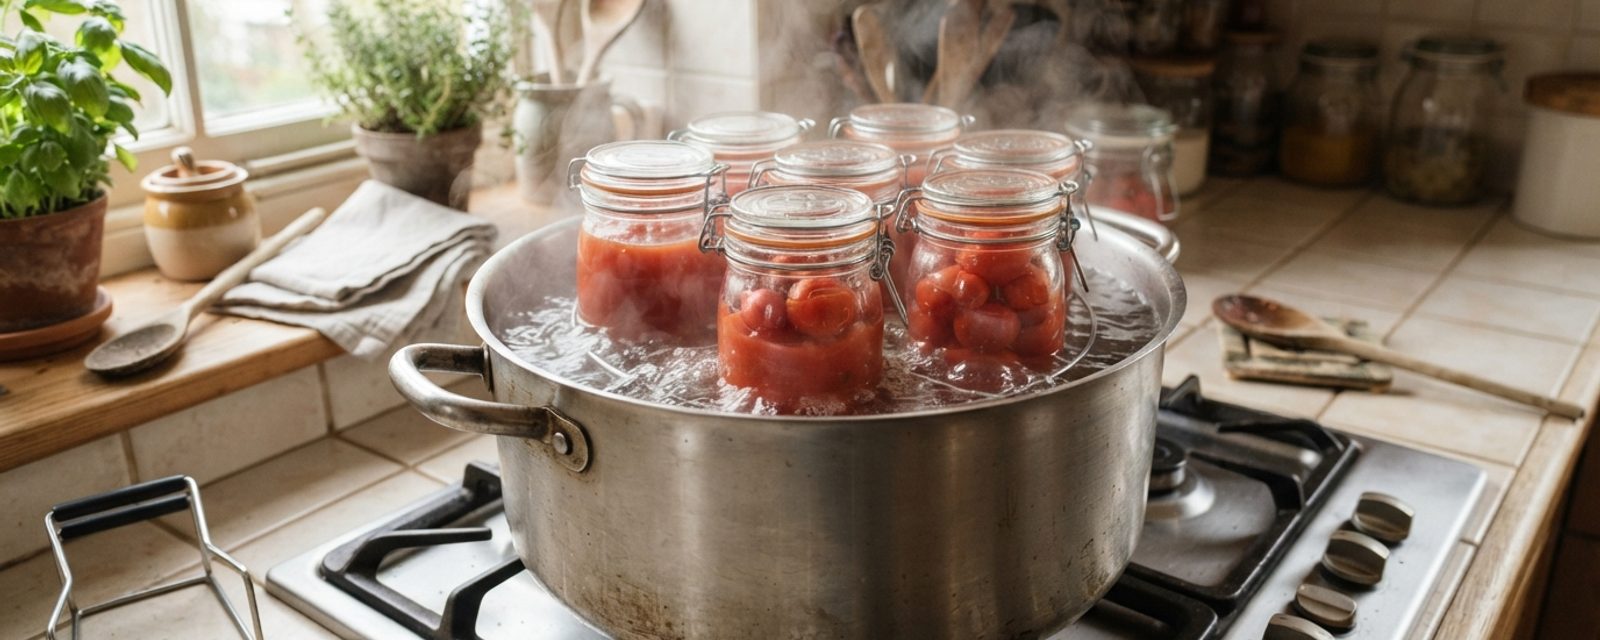
Someone has a bumper crop of green beans or carrots, a stack of empty jars, and a water-bath canner they used successfully last month for plum jam. The logic feels sound: canning is canning, pack the vegetables in jars, submerge them in boiling water, seal, done. It is not sound, and it is the single most dangerous piece of folk logic in home preserving.
A water bath, however long you boil it, tops out at 100°C (212°F) at sea level. That is hot enough to kill yeasts, moulds, and most bacteria. It is not hot enough to kill the spores of Clostridium botulinum, the bacterium responsible for botulism, a rare but severe and potentially fatal form of food poisoning. Those spores survive boiling-water temperatures and can then germinateA seed sprouting: breaking dormancy and putting out its first root and shoot, given the right warmth and moisture. Full definition → inside a sealed, low-oxygen jar of low-acid food, producing a toxin with no smell, taste, or visible sign to warn you. Destroying them requires sustained heat of 116–121°C (240–250°F), which only a pressure canner can reach.
This is not a matter of boiling for longer, or adding a splash of vinegar as a shortcut, extending a water-bath processing time or adding vinegar to a plain low-acid vegetable does not make it safe, because the vinegar addition and the timing both have to be part of a scientifically tested recipe, not an improvisation on the day. Green beans, carrots, sweetcorn, peas, potatoes, courgettes and marrows, and any other vegetable packed in plain water or a light brine are low-acid foods. They need a pressure canner, not a water bath: it uses different equipment and higher pressure to reach the temperature low-acid food actually needs to be safe.
A pressure canner isn't something most UK kitchens already have, and buying one is a genuine outlay if you're not already set up for it. If you've got a low-acid vegetable glut and no pressure canner, freezing after blanching is the accessible route for those crops, not water-bath canning at any processing time.
A related piece of inherited folk practice is just as risky: pouring hot food straight into a jar with no processing at all, then turning it upside down and trusting the heat alone to seal the lid (sometimes called open-kettle canning or inversion sealing). That skips the sustained heat treatment altogether, on any food, and it isn't a safe substitute for either water-bath or pressure processing.
What water-bath canning is actually for
Water-bath canning works by combining heat with acidity. pH measures acidity on a scale where a lower number means more acidic; foods with a pH of 4.6 or below are classed as high-acid foods, and at that acidity, the boiling-water temperatures a water-bath canner reaches are enough to destroy the organisms that matter, while the acid environment itself prevents C. botulinum from growing and producing toxin even if a spore survives dormant in the jar. That combination, heat plus acid, is what makes the method safe, and it's also its limit: take the acid away and the same boiling temperature is no longer sufficient.
Most whole fruit falls comfortably into this safe range on its own: apples, pears, plums, brambles, blackcurrants and other soft berries, cherries, peaches, and rhubarb. Apples, plums, brambles and blackcurrants are among the most commonly grown fruit in Scottish gardens and allotments, and all can safely water-bath can using a tested recipe without any added acid. Rhubarb is usually acid enough too, but older, thicker end-of-season stalks run closer to the borderline than young spring stalks, if in doubt, follow a tested rhubarb recipe rather than assuming any stalk qualifies.
Pickles preserved in a sufficiently acidic vinegar brine also fall into this category, provided the recipe has been tested to confirm the vinegar strength and ratio actually bring the finished product below pH 4.6, pickling works because the brine acidifies a vegetable that's otherwise low-acid on its own, not because vegetables become safe by default once vinegar is involved. Chutneys work the same way, acidified with vinegar to a safe pH, but that territory, including the sugar-and-acid chemistry behind it, is covered in this series' companion piece, Jam and Chutney from a Glut. If chutney is what's on your kitchen counter, that's the piece to read alongside this one.
The tomato trap
Tomatoes deserve their own warning, because they are the food most often canned incorrectly by people who otherwise understand the acid rule. Tomatoes sit right on the borderline of high-acid and low-acid, some varieties, especially fully ripe or particularly sweet ones, can drift close to or above pH 4.6. Treating "tomatoes are a fruit, fruit is acidic, therefore tomatoes are automatically safe to water-bath can" is a genuine and common mistake.
It matters even more in a Scottish garden or an unheated greenhouse, where a shorter, cooler growing season means outdoor and unheated-greenhouse tomatoes are more often picked less-than-fully-ripe at the end of the season, the direction that pushes acidity further from the safe side, not closer to it. The fix is straightforward: a tested tomato-canning recipe will specify a measured amount of bottled lemon juice or citric acid added to each jar before processing, to guarantee the acidity is low enough regardless of which tomatoes or how ripe they are. Bottled lemon juice is used rather than fresh, because bottled juice has a standardised, guaranteed acidity, fresh lemons vary. Skip that step, or substitute fresh lemon juice on the assumption it's close enough, and you've turned a high-acid-adjacent food into an unpredictable one, processed with a method that has no safety margin for the low-acid failure case.
High-acid vs low-acid: what needs which method
| Food | Natural acidity | Safe method |
|---|---|---|
| Apples, pears, plums, brambles, blackcurrants, other berries, cherries, peaches, rhubarb | High-acid (pH ≤ 4.6) | Water-bath canning |
| Tomatoes | Borderline — varies by variety and ripeness | Water-bath canning, only with added lemon juice or citric acid per a tested recipe |
| Pickles (vegetables in a tested vinegar brine) | Low-acid on their own — only safe once acidified to pH ≤ 4.6 by a tested recipe’s brine | Water-bath canning, only as an acidified pickle, never as the plain vegetable |
| Chutneys (vinegar- and sugar-acidified) | Low-acid on their own — acidified by the recipe | Water-bath canning — see the companion jam and chutney article |
| Green beans, carrots, sweetcorn, peas, potatoes, courgettes and marrows (plain water or light brine, no acidification) | Low-acid (pH > 4.6) | Pressure canning only — never water-bath |
| Meat, poultry, fish, and any mixed low-acid dish (soups, stews) | Low-acid | Pressure canning only — never water-bath |
A vegetable is never water-bath safe on its own. It only becomes safe once a tested recipe has acidified it below pH 4.6 with a proper vinegar brine, that's what turns a plain low-acid vegetable into a safe pickle. Skip that acidification, or improvise the vinegar ratio yourself, and you're back to a low-acid food that needs pressure canning, whatever the jar started out containing.
The basic method, step by step
Once you've confirmed your food is high-acid (or acidified per a tested recipe), the physical process is the same each time:
- Wash and heat your jars and lids. Jars need to be clean and hot when filled, so they don't crack on contact with hot food; lids and rubber seals should be checked and, for a metal lid or a Kilner rubber ring, be fresh, not reused.
- Fill the jars per the recipe, leaving the specified headspace (see below), and remove air bubbles by running a non-metallic tool down the inside of the jar.
- Wipe the rims clean, then fit the lids and bands (or Kilner clips) to just fingertip-tight, not fully torqued down.
- Lower the jars into a deep pot fitted with a rack, so they're not sitting directly on the base, and add enough water to cover the jar tops by at least 2–5cm.
- Bring the water to a full rolling boil, then start timing only once it's boiling, this is the "processing time" the recipe specifies, and it doesn't start until the water is actually at a full boil, not when you first put the jars in.
- Keep the water boiling for the full processing time, adjusted for your altitude if needed (see below), topping up with boiling water if the level drops.
- Turn off the heat, remove the jars carefully, and cool them undisturbed (see below) before checking the seals.
Doing it safely: the essentials
A water-bath canning session isn't complicated, but every step exists to close off a specific way this can go wrong, so none of them are optional extras.
Use a tested recipe, exactly as written, from a recognised source. A tested recipe is one a food-science body has actually verified reaches a safe pH and processing time, the National Center for Home Food Preservation publishes a large free library of tested recipes, and any canning book or site that states its recipes are lab-tested against USDA or an equivalent standard is a reasonable source. There isn't a UK body publishing an equivalent free library of its own, which is why this guide leans on the American one, the underlying chemistry (pH, temperature) doesn't change at the border, even though the specific crops and jar conventions do. A recipe with no stated testing behind it, including most recipes shared informally online, isn't a substitute, the actual numbers matter, not just the general shape of the method. Processing times and jar sizes in a tested recipe have been calculated to guarantee heat penetrates to the centre of the jar for long enough. Changing the jar size, packing the food more densely, or cutting the time short breaks that calculation even if the food itself is high-acid.
Check your jars, lids, and seals. Use proper canning jars, Kilner jars with new rubber seals and clip-top lids are the standard choice in a UK kitchen, and US-style mason jars with two-piece metal lids work the same way. Check the rim for cracks or chips first, since a chip can stop a proper seal from forming. A metal lid's sealing compound, or a Kilner jar's rubber ring, is designed for one use, replace it every time rather than reusing one from a previous batch, since a reused seal can look fine and still fail. Metal screw bands and Kilner clip fittings can be reused as long as they aren't rusted, bent, or cracked.
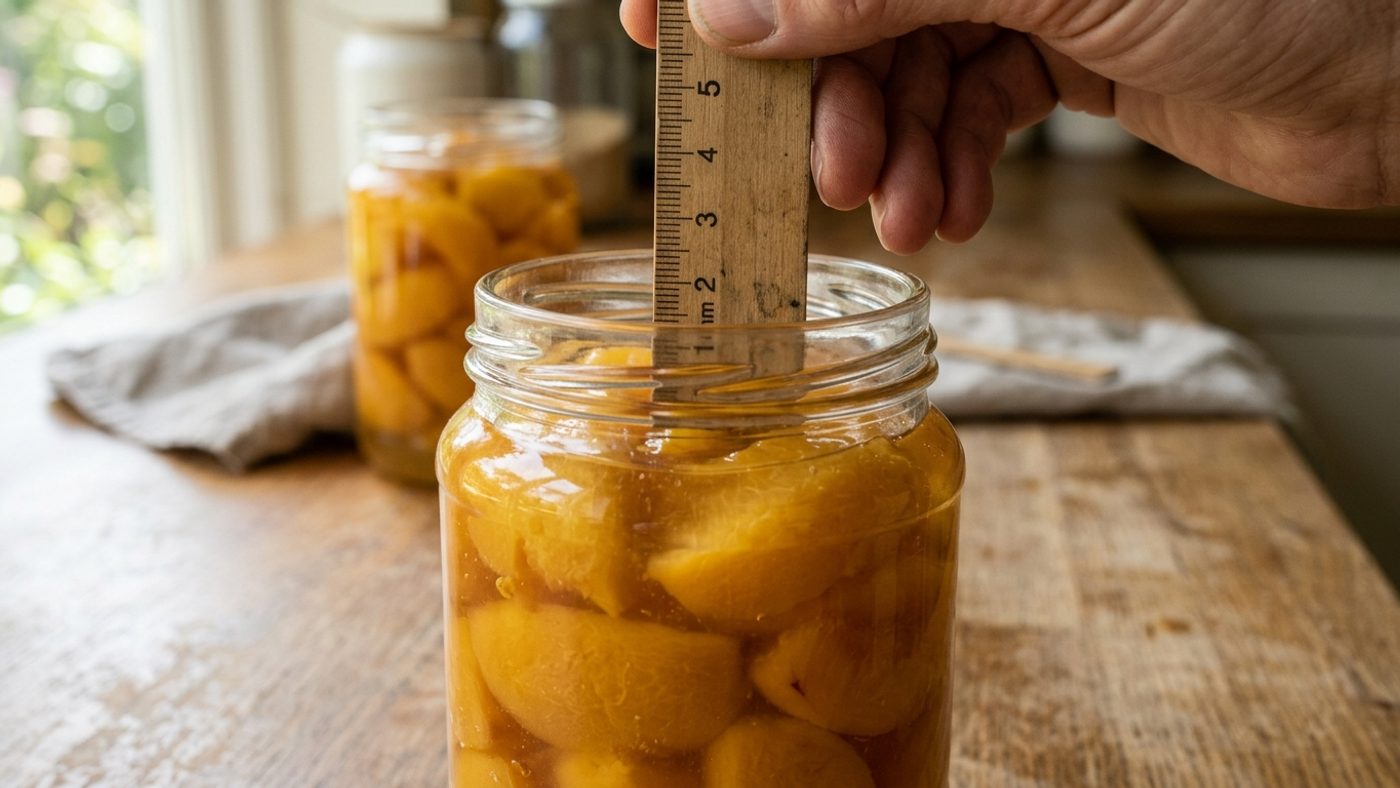
Mind your headspace. Recipes specify a headspace, the gap between the food and the rim, usually around 1–2cm depending on the food. Too little and the jar can fail to seal or force liquid out during processing; too much and the jar may not seal properly either.
Process for the full time, then adjust for altitude. Processing times in most published recipes assume sea level, and tested recipes typically don't need any adjustment below around 300m (1,000ft) of elevation. Low-lying gardens and allotments near the coast or in the central belt are usually well under that line, but altitude climbs quickly inland, Highland, Borders, and upland gardens can sit above it. Check your own elevation against the recipe's altitude chart rather than assume; above that line, water boils at a lower temperature, so processing time needs increasing to compensate.
Cool undisturbed, then check every seal. After processing, jars need to cool on a rack or towel, away from drafts, for 12–24 hours before you touch the bands or clips. Once cool, check each lid: a metal lid should be concave and not flex when pressed in the centre; a Kilner-style clip-top should hold firm with the clip released. Any jar that hasn't sealed should go straight in the fridge and be used promptly, or reprocessed with a new lid or seal, never left on the shelf on the assumption it'll be fine.
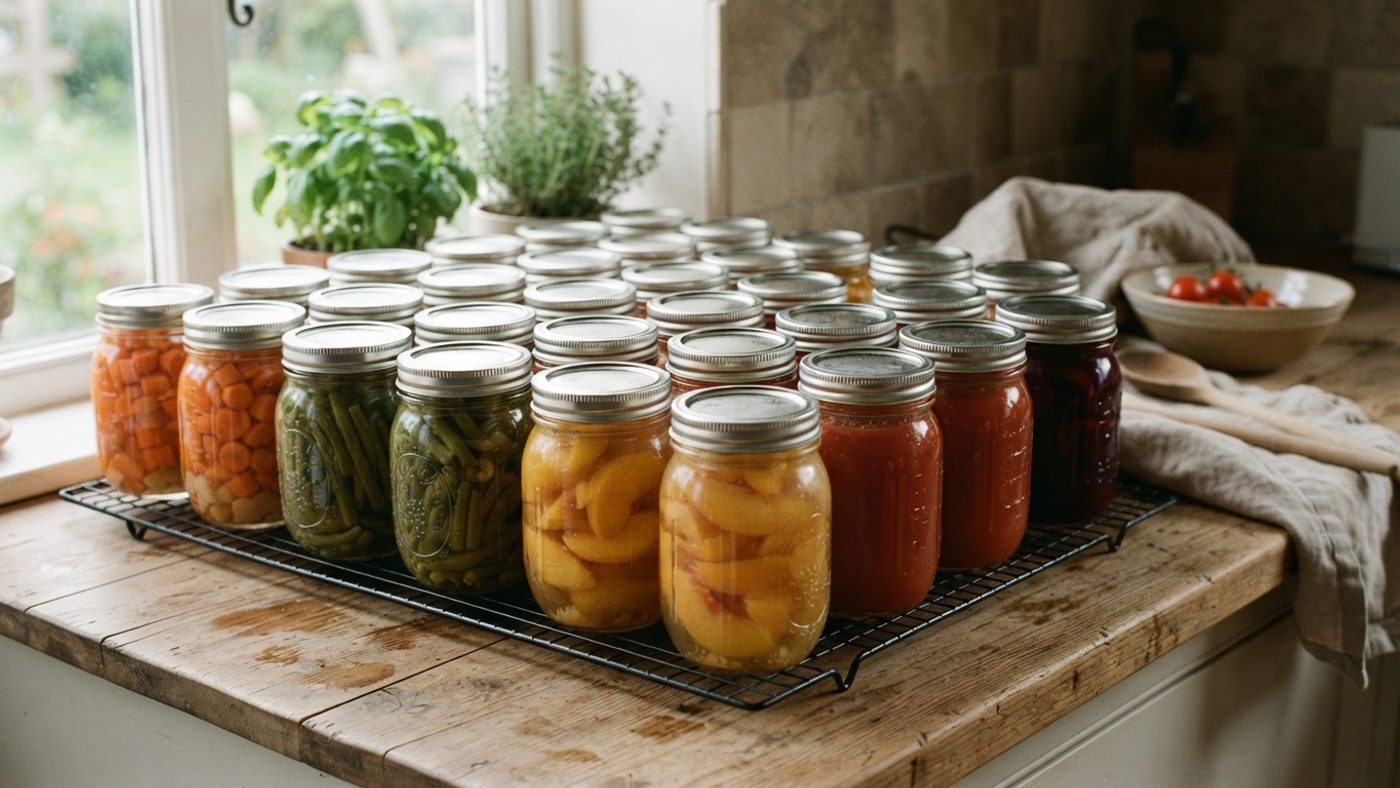
Store, label, and use in reasonable time. Label jars with the contents and date, store somewhere cool and dark, and work through older jars first. A little liquid loss, or fruit that's floated up in the jar, is normal and not a safety issue on its own. What isn't normal, and means the jar should be discarded without tasting: bulging or a lid that flexes, liquid spurting out when opened, an off or musty smell, mould, or murky/foamy liquid the recipe doesn't describe as expected for that food. Once a jar is opened, the sealed-shelf rules stop applying: refrigerate it and use the contents within a few days, the way you would any other opened preserve.
Quick reference
| Check | What to do |
|---|---|
| Headspace | About 1–2cm gap between food and rim (check your specific recipe) |
| Processing timer | Starts only once the water reaches a full rolling boil |
| Altitude adjustment | Usually none needed below ~300m (1,000ft); check the recipe’s chart above that |
| Cooling time | 12–24 hours, undisturbed, out of drafts, before touching bands or clips |
| Seal check | Metal lid: concave, doesn’t flex when pressed. Kilner clip-top: holds firm with the clip released |
| Storage | Cool, dark place; label with contents and date; use oldest jars first |
Common questions
Can I just boil green beans or carrots for longer to make water-bath canning safe?
No. Extending the processing time in a boiling-water bath does not raise the temperature past 100°C, and C. botulinum spores survive well beyond any practical boiling time at that temperature. The genuinely dangerous part is that a jar of improperly canned low-acid vegetables can look, smell, and taste completely normal even when the toxin is present, unlike ordinary spoilage, which usually announces itself with an off smell or visible mould, botulism gives no warning at all. Low-acid vegetables need a pressure canner, which reaches 116–121°C, there is no water-bath workaround.
Does adding vinegar to green beans let me water-bath can them?
Only if you are following a specific tested recipe that has been formulated and verified to bring the beans below pH 4.6 throughout the jar, pickled green beans made with a proper tested vinegar-brine recipe, for example. Splashing vinegar into a jar of plain green beans on your own judgement does not reliably acidify the food and is not a substitute for pressure canning.
Are all tomatoes safe to water-bath can without adding anything?
No. Tomato acidity varies enough by variety and ripeness that tested recipes call for added bottled lemon juice or citric acid in every jar, regardless of how the tomatoes taste. Skipping that step is one of the most common canning mistakes people make specifically because tomatoes feel like an obvious fruit.
Can I reuse canning lids from a previous batch?
The metal screw bands, or a Kilner jar’s clip fitting, can be reused if they’re not rusted or damaged. The sealing part, the flat lid’s compound ring, or a Kilner jar’s rubber seal, is single-use: it’s designed to seal once, and a reused one is more likely to fail without any visible sign.
What’s the actual difference between water-bath and pressure canning?
Water-bath canning processes jars in boiling water and relies on the food’s own acidity (pH 4.6 or below) to make that temperature sufficient. Pressure canning uses a sealed pressure vessel to reach higher temperatures (116–121°C), which is what’s required to destroy C. botulinum spores in low-acid foods. They are not interchangeable options for the same job, each is the correct, different method for a different category of food.
Sources
4 sources, recorded with what each was used for
- National Center for Home Food Preservation: How Do I? Can: The core method structure, the acid/pH safety framework, and its treatment of tomato acidification as a named, dedicated topic
- National Center for Home Food Preservation: FAQs — Canning: That recommended processing times and methods can’t be shortened or substituted (e.g. adding vinegar to fresh vegetables does not permit water-bath processing), and that low-acid vegetables such as squash require pressure canning
- Food Standards Agency: Botulism (Clostridium botulinum): UK-specific framing on botulism risk from home-preserved and airtight sealed foods
- RHS: Preserving autumn produce: General framing on preserving homegrown produce; not used for canning-specific safety content